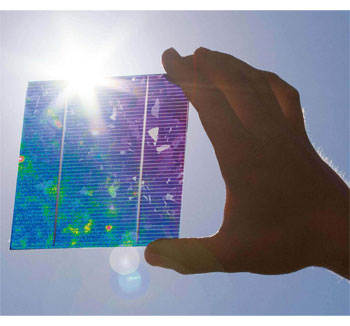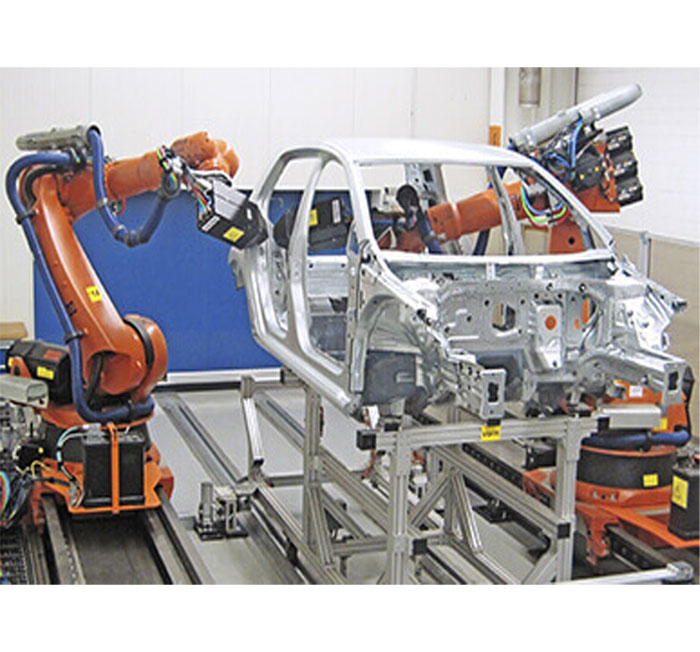
Anyone who wants to selectively control their production, must detect disturbances in the production at an early stage. Non-destructive testing by means of thermography provides important insights into the quality of compounds (e.g. layered compounds) or allows you to detect cavities even before the finished product is available.
Active Thermography as a Process for Non-Destructive Testing
The essential feature of active thermography is the targeted supply of energy to the test object. A temporal and spatial characteristic heat flow results depending on the geometry and thermal properties of the test subjects. Its progression on the surface of the test object is captured by a thermographic camera.
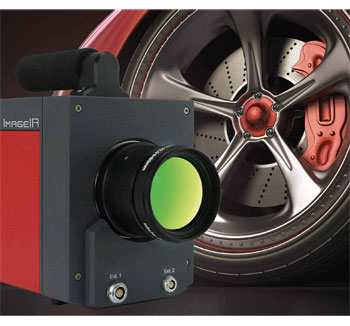
The cooled high-end camera series ImageIR® and uncooled microbolometer cameras of the latest generation of the VarioCAM® series are particularly suited for depicting the resulting temperature distributions. The geometric resolution of up to (2,560 × 2,048) IR pixels, high refresh rates as well as exact triggering and thermal sensitivity well below 0.015 K provide the technical requirement for detecting the smallest material defects.
Rely on infrared thermography for non-destructive testing, benefit above all from the variable application of the process for different materials and material combinations. You can detect very different defects. This includes defects in joints, cavities, cracks or faulty joints. Thanks to such qualities, active thermography has firmly established itself as an efficient method for contactless and non-destructive testing in recent years.
Application Areas

